

The customers on your webshop can be very different and with equally different needs for delivery. You can handle this easily and efficiently by using Shipmondo or Webshipper.
Your customers' delivery needs vary. Some want their order delivered to a specific parcel shop which may not be closest to their address, and others prefer to use GLS exclusively where they can have their parcels delivered directly to their door.
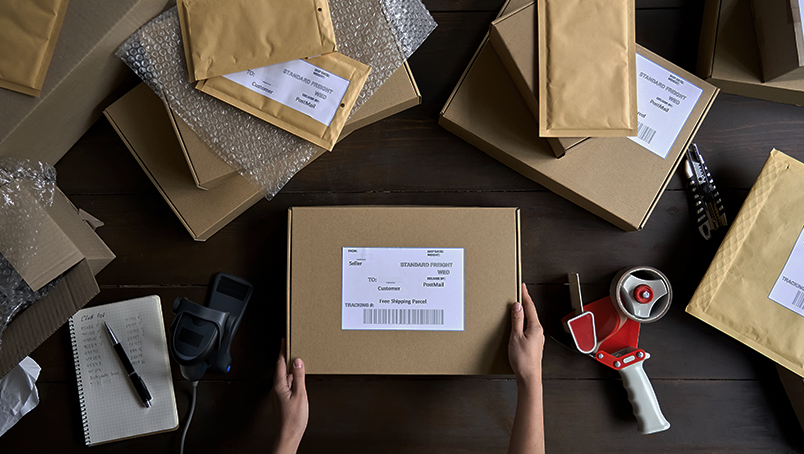
The Manual Proces is both Difficult and Time Consuming for you and your Customers
You have chosen a standard delivery option applicable to all your customers. It costs 35 kroner to the nearest parcel shop and 45 kroner for direct delivery. Customers do not know where they will receive their package when they choose a parcel shop, but simply receive a message/email when their package is ready for collection. Here they may also be in doubt about which freight provider delivers the package. It can be GLS, PostNord, DAO, UPS, Bring, and many more where some customers prefer one over the other.
In the end, customers can not place an order with you because there is no transparency about how exactly they will receive their packages. And we do not want that, do we?
To begin with you may need to print out a delivery note manually for all the orders placed on your webshop. Then you may need to copy all the customer's information into GLS, PostNord or DAO's systems in order to generate a label. It will be very time consuming for you and the chance of misinformation is very high.
Once you have generated a label you must then return to your shop to deduct the money for the customer's order. Again a manual process that needs to be handled.
All the above points can be automated very simply and make the workday much easier for you and your employees.
Why Use an App to Handle Shipping?
There are many good reasons to use an app to automate and manage the shipping of the goods to the customers. Here are some of the highlights:- You can pick and pack your orders much more efficiently.
- You can use scanners and terminals to complete an order.
- You can handle large quantities of orders without it being extra time consuming.
- The chance of error is minimized as it is the customer's information.
- You give your visitors a much better experience.
- You can create a return portal for free for your customers (Shipmondo)
- You can automate many manual processes.
How do I Give my Customers the Option to Select a Specific Parcel Shop in a Specific Zip Code?
Displaying delivery methods and parcel shop selector in Shopify checkout is an extended feature that requires Carrier Calculated Shipping (CarrierService API) to be enabled on your Shopify shop.
Shopify Carrier Calculated Shipping (CarrierService API) can be activated in one of the following ways:
Option 1: If you have an Advanced Shopify plan or higher, then Carrier Calculated Shipping is included in your Shopify plan, and you therefore do not have to do anything.
Option 2: If you have Basic or Standard Shopify and pay your subscription on an annual basis, then you can access the API for free.
Option 3: If you have Basic or Standard Shopify and pay monthly to Shopify, you can purchase access to the CarrierService API for $20 per month.
For options 2 and 3 contact Shopify customer service to have Carrier Calculated Shipping activated at your shop. You can get in touch with them here.
How Can you Handle an Order in Shipmondo?
Step 1: An order enters the system and the customer has selected a given parcel shop.
Step 2: The system automatically prints a delivery note of what the customer has ordered.
Step 3: You find the item for the customer so it is ready for shipment.
Step 4: You scan the barcode on the delivery note so that the system automatically generates a label with all the customer's information so that it is delivered to the correct parcel shop.
Step 5: The system detects that a label has been generated and it automatically deducts the money on the sales order.
Step 6: You are done and can move on to the next order.
It does not get much easier and you have handled an order very efficiently.
All this only needs to be set up once where you set the right printer information, and the system tells the right workflow for you and your employees.
You can watch the Shipmondo's video here.
Shipmondo can also handle you sending products in different weight ranges where customers have to pay more. You can also set up different product ranges which do not have to be sent from your shop, but where the customers can pick them up at your physical store.
One of the differences between using Shipmondo and Webshipper is that you can buy shipping labels directly through Shipmondo at their own standard prices. At Webshipper you must have your own shipping agreement with a supplier to generate labels. This can also be integrated with Shipmondo at a one-time prices of 500 kroner ex VAT + an amount every time you generate labels.
Here you can see which providers Shipmondo supports.